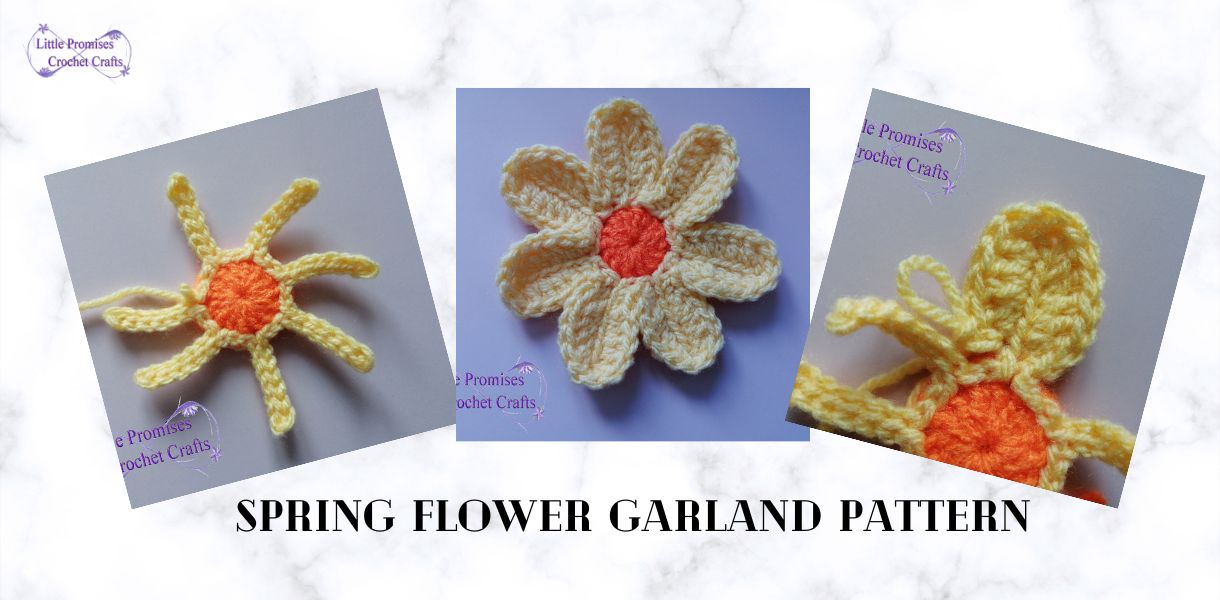
There is nothing better to cheer yourself up than colourful spring flowers on a grey drizzly day. Now you don’t need to wait until the weather warms up to have lots of beautiful blooms in your home. Try making this simple crochet garland in all your favourite spring shades.
Materials
Scrap yarn in any spring flower colours you like.
Gauge
Not Important
Tools
Hook required for yarn
Scissors
Yarn needle
Abbreviations/Stitches
Magic Circle
Ch- Chain
SlSt – Slip Stitch
Sc – Single Crochet
Dc – Double Crochet
Easy Crochet I-Cord (To attach your flowers to)
Measure the length of your garland then follow this quick video to create the garland cord.
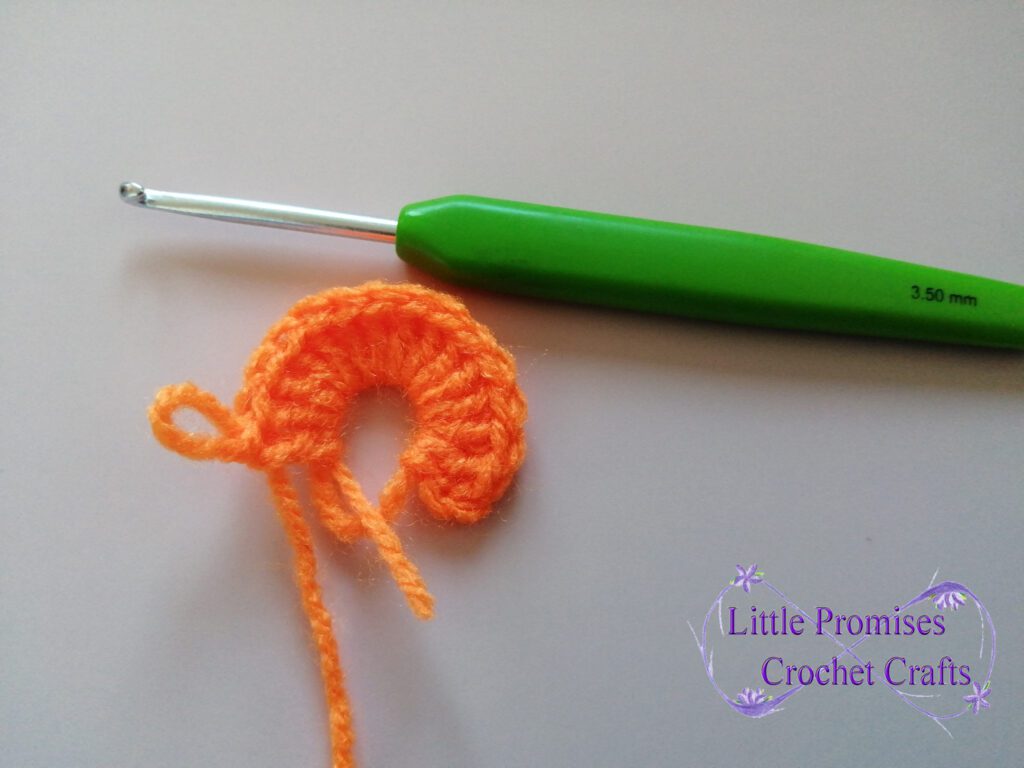
Round 1
Ch3, then work 14 dc into magic ring, slst to join to top of 1st dc, cut yarn
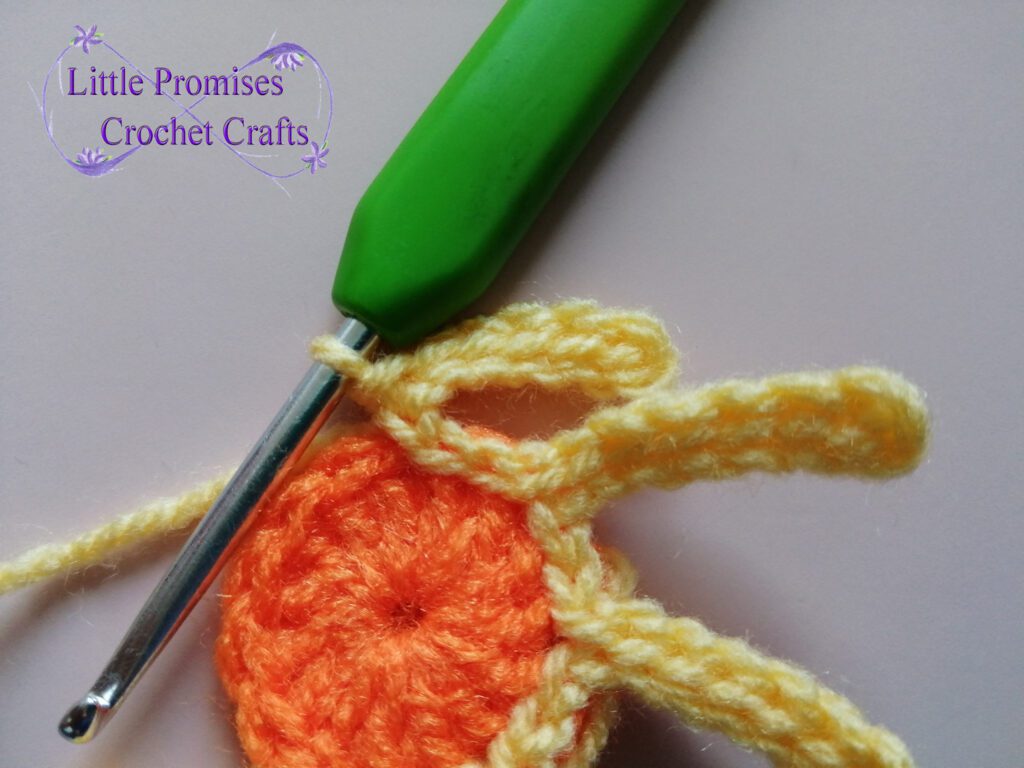
Round 2 (Petal Spines – Change Colour)
Slst into any dc, *Ch7, skip 1st chain from hook then slst into 6ch stitches, slst into same dc at base, slst into next dc* repeat from *-* 6 times.
Round 3 (Petals)
*Sc into 1st ch, dc into next 5 chain stitches, 2sc into top chain, Slst into slst of previous round,* repeat from *-* 6 times, slst to join, cut yarn and sew in ends to finish.

Your Spring Flowers Garland is complete! Attach the flowers to your i-cord and hang your garland somewhere you will see it and enjoy it everyday.

I have tested this pattern a great many times to check for errors but if you should have any problems please get in touch. You can email me at vivienne@littlepromisescrochetcrafts.com and I’ll do my very best to help.
I’d love to hear your feedback so please leave me a message in the comments.
Until next time,
Be productive, be brilliant, be kind
Love,